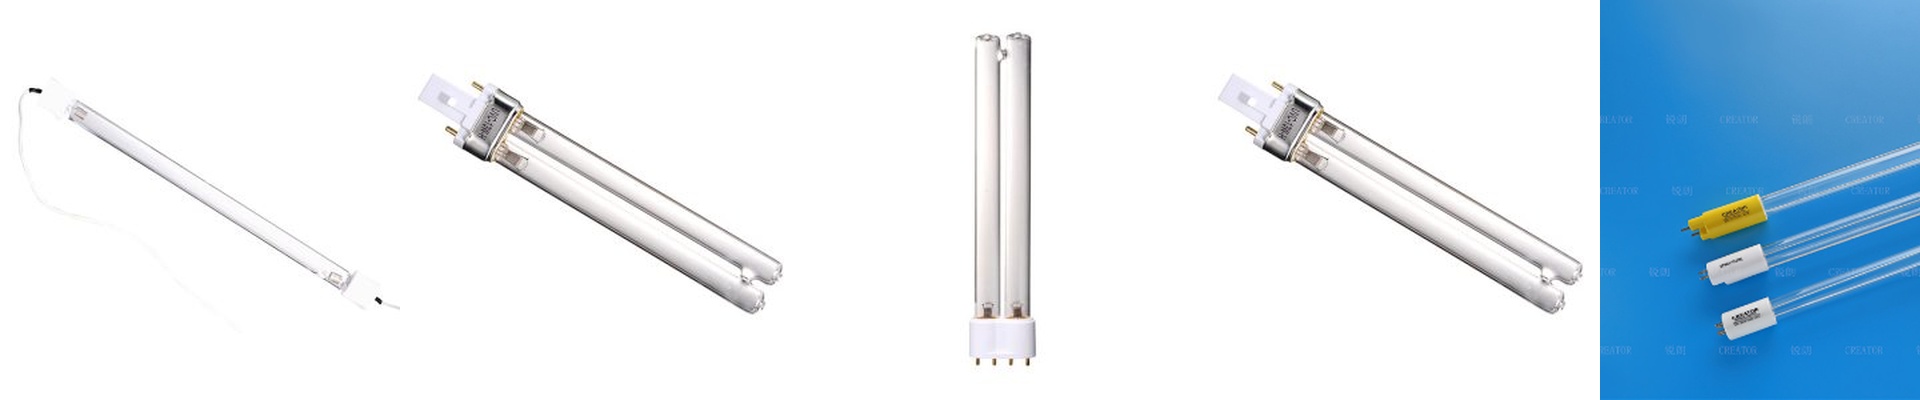
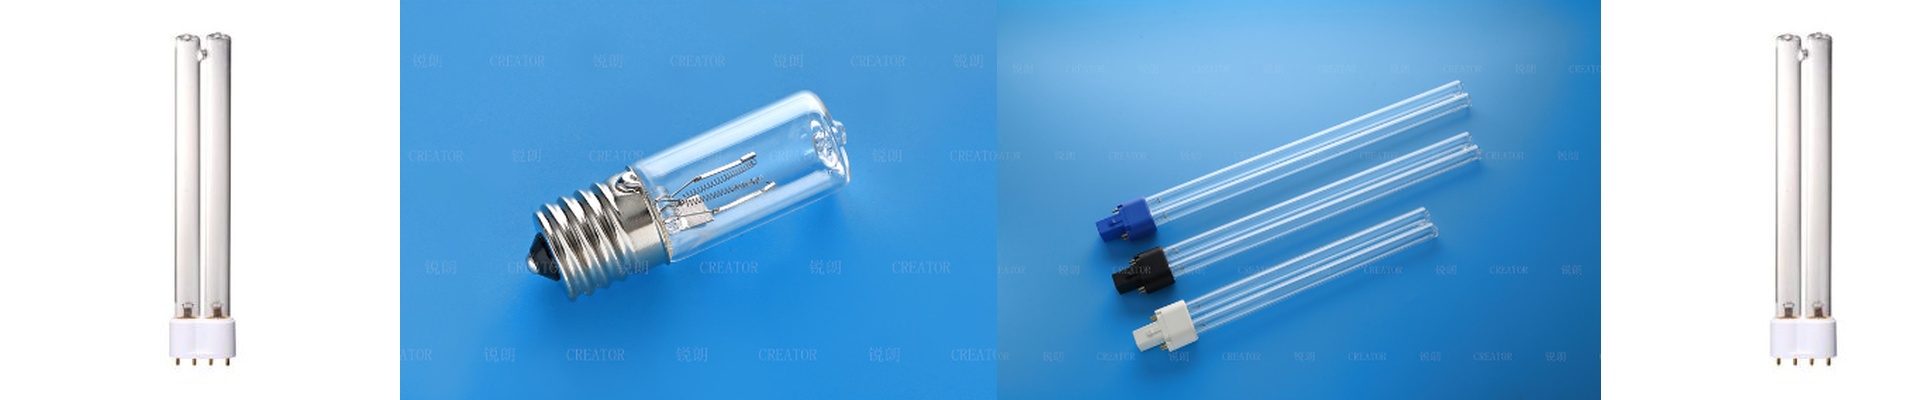
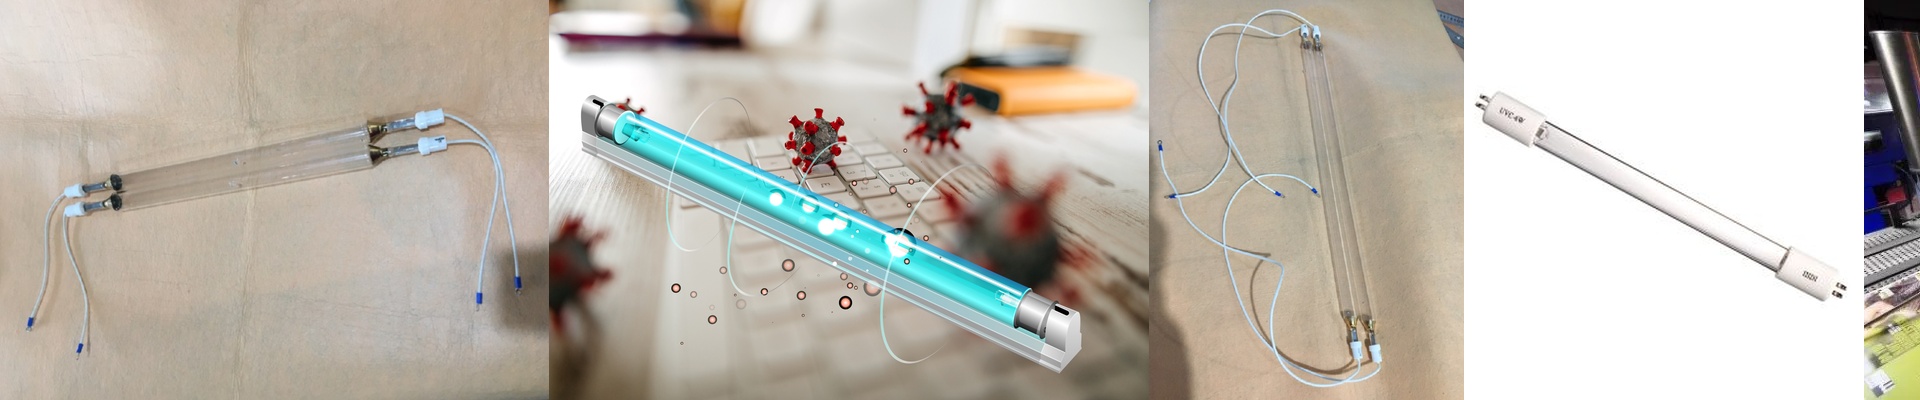
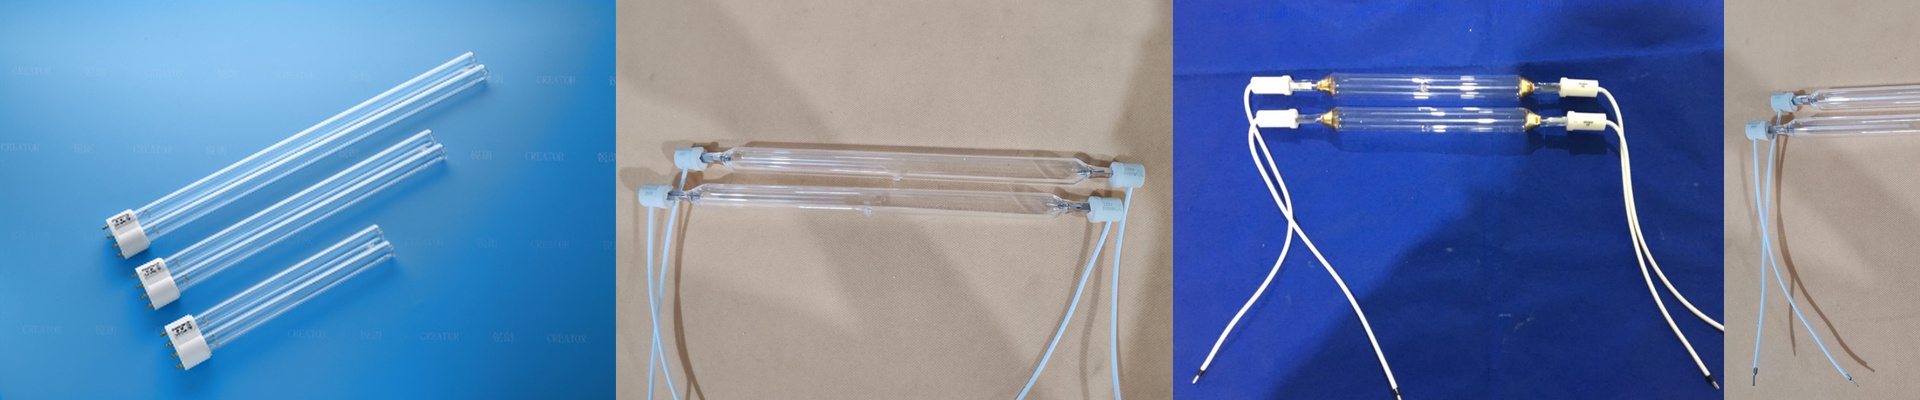
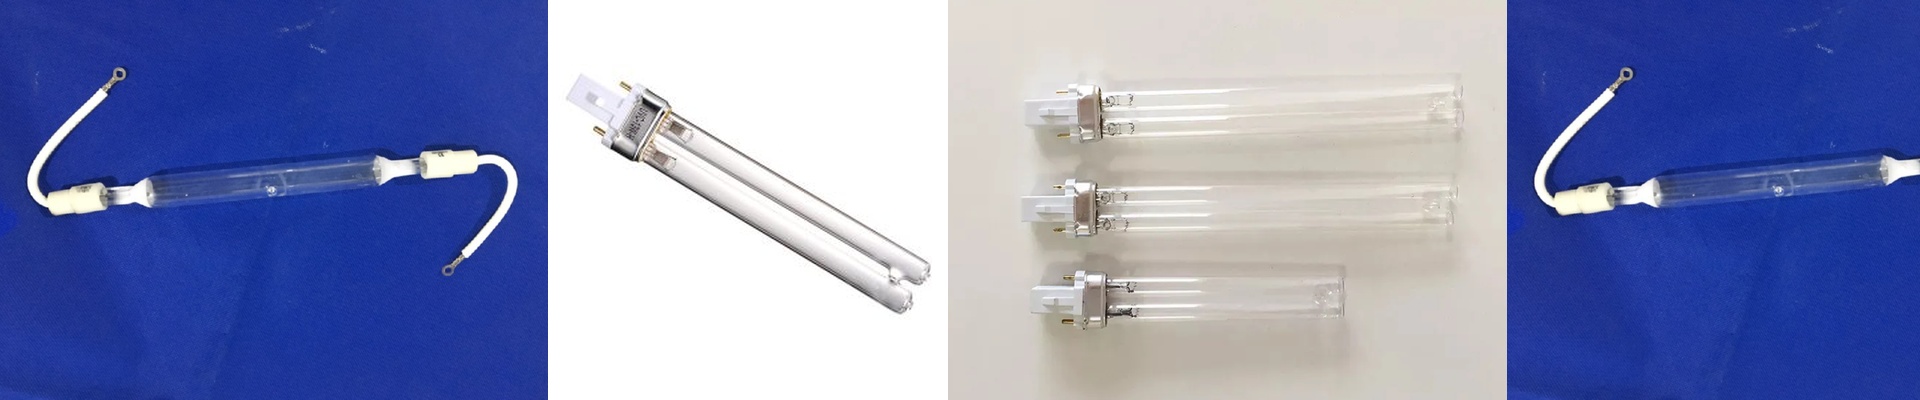
Out on the press floor, you don’t always see the problem at first. A thin film of surface oil and fumes coats the UV lamp reflector, and spectral output quietly gets stolen. The result shows up in the stack: incomplete cross-linking, a tacky surface, and scrap that should never have made it past the dryer. The fix isn’t guesswork. It’s disciplined lamp management—starting with precise timer switch control. What actually drives the cure UV curing comes down to dose: energy density (mJ/cm²) delivered at the substrate. That dose is a function of peak irradiance and exposure time. When reflector reflectivity drops because of oily deposits, peak irradiance falls and the cure time you need climbs. A timer switch with repeatable on/off cycles and stable arc stabilization keeps erratic lamp starts out of the equation and holds lamp temperature steady. That stabilizes the mercury vapor spectrum—typically 365 nm for deep cure and 385–405 nm for surface cure—so the photoinitiator response stays predictable across the sheet. Why this works in practice When the timer enforces a defined warm-up and duty cycle, daily maintenance becomes repeatable. Clean the quartz sleeve and reflector on schedule, and you can stretch lamp life by about 30% by limiting thermal shock and preventing output loss from coatings. The payoff is measurable: fewer under-cured rejects, fewer lamp replacements, and cure energy that stays consistent job to job. Pair the timer with an ozone-free high-pressure mercury lamp and a reflector with a dichroic coating, and more of the useful UV output stays focused on the ink. The details that matter Timer switches aren’t universal. Match voltage, contact rating, and connector type to the lamp and ballast. Confirm compatibility with your press model and the lamp’s ignition sequence—mismatched timing can shorten lamp life or cause unstable starts. There’s a small calibration window after installation. Set the cycle to match the lamp’s thermal behavior, then lock it in.