Getting UV Curing Right in Textile Printing
We build UV lamps for one reason: to stop the headache of ink that won’t stick. There’s nothing worse than a print that looks great on the machine but cracks or bleeds after a few trips through the wash. To avoid that, you need the ink to bond to the fabric instantly, but you have to do it without scorching the material. It’s a delicate balance.
The trick to the cure
It all comes down to the UV-C and UV-B spectrums. You need just enough energy to lock those monomers together. If you’re too timid with the intensity, the ink stays tacky. You’ll touch it, and it’ll smudge. But if you go overboard? You’ll burn a hole right through your fabric. We spend a lot of time tweaking the wattage and the distance from the fabric to make sure every inch of the print gets the exact same dose of light.
Heat and hardware
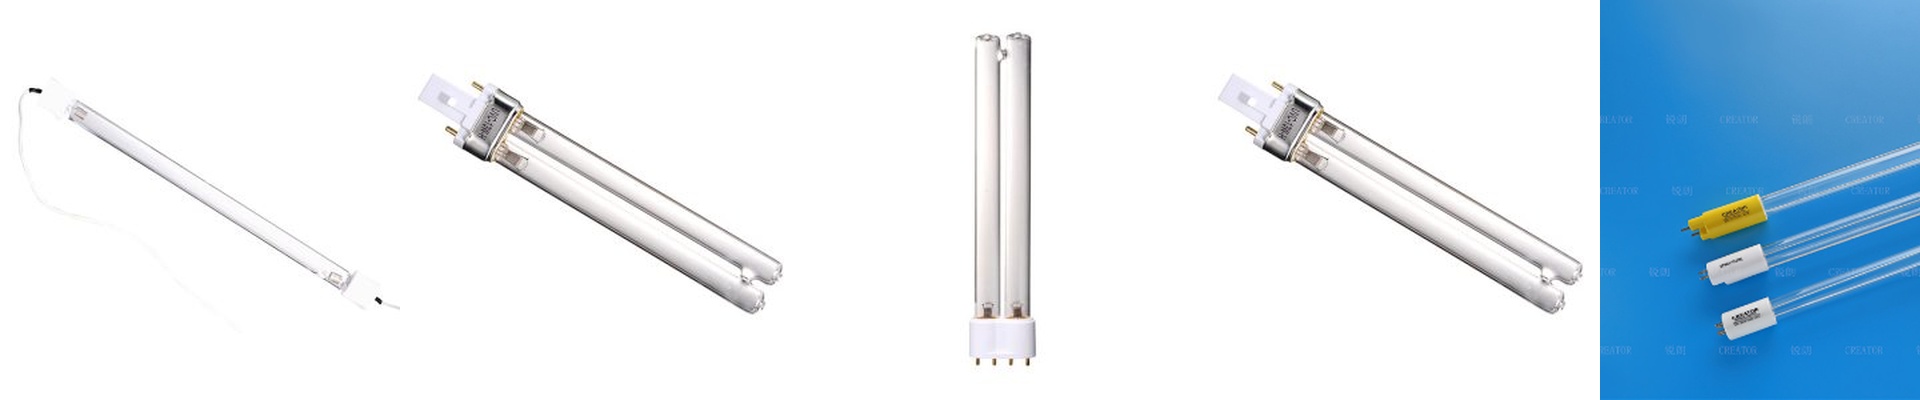
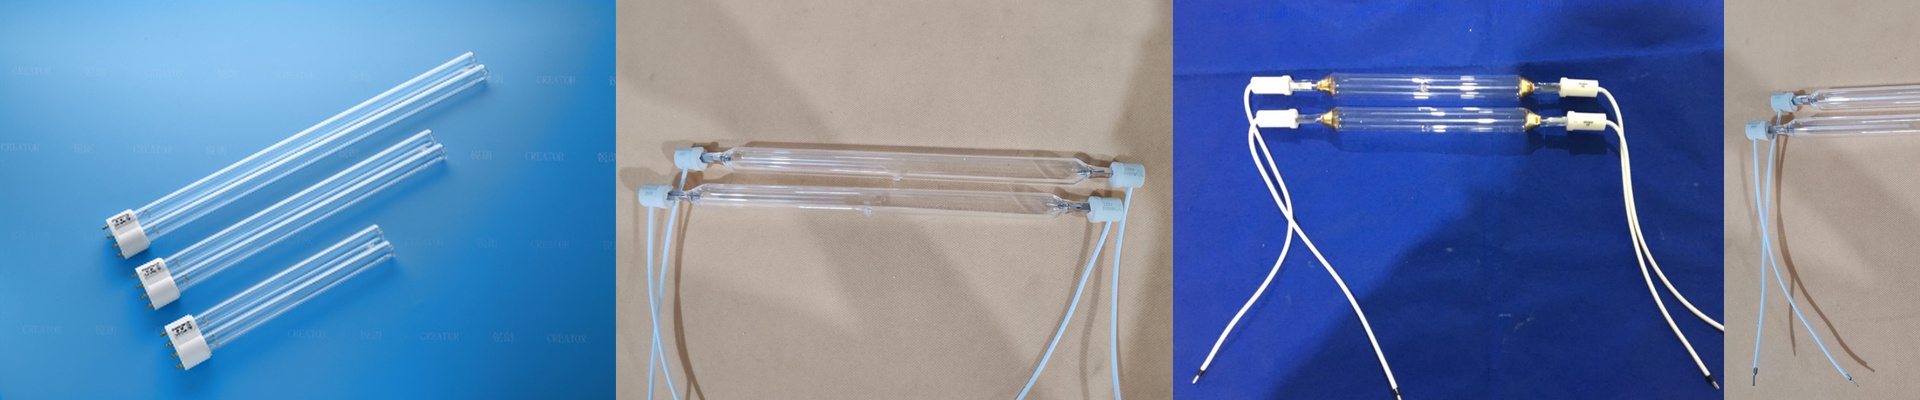
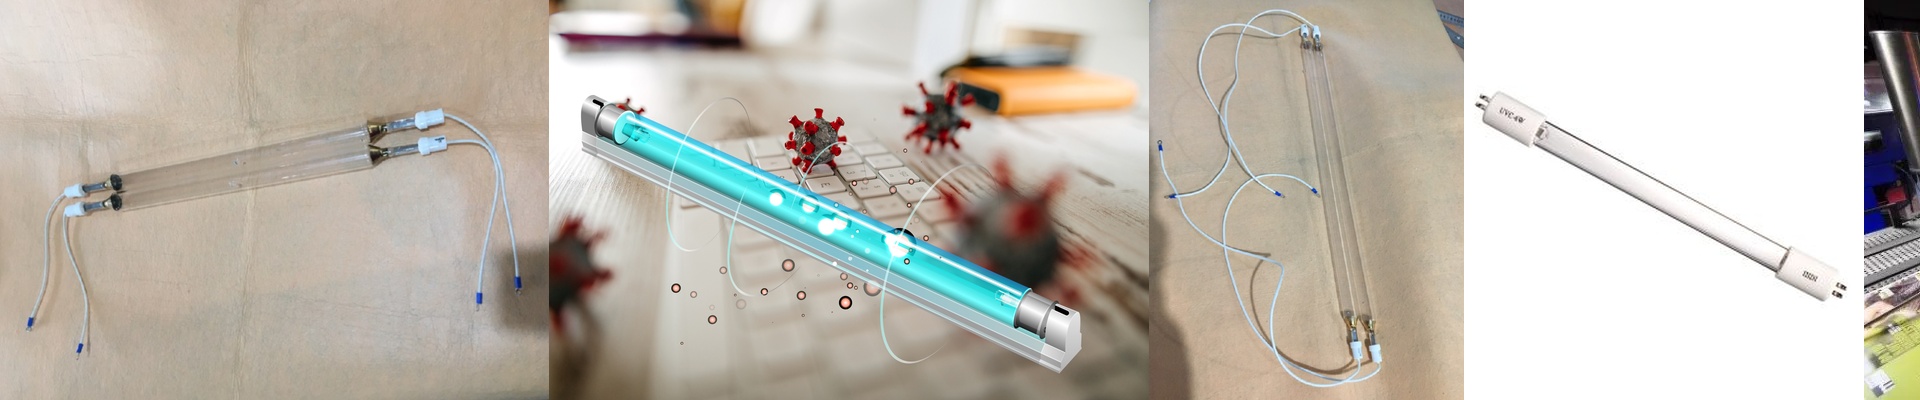
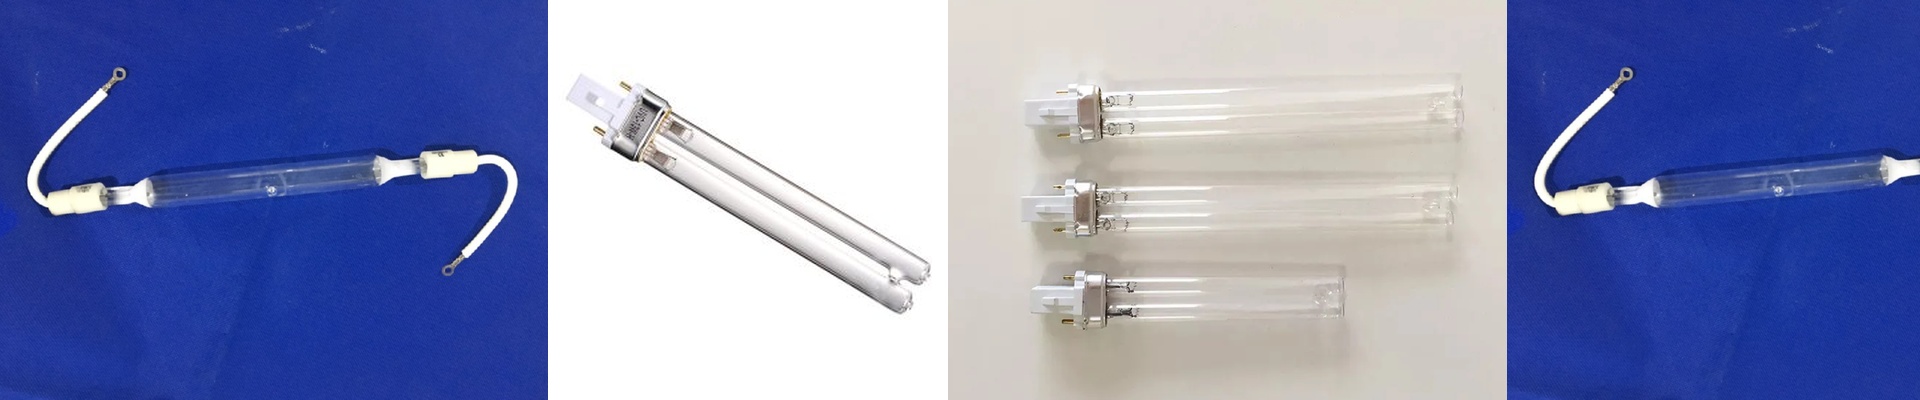
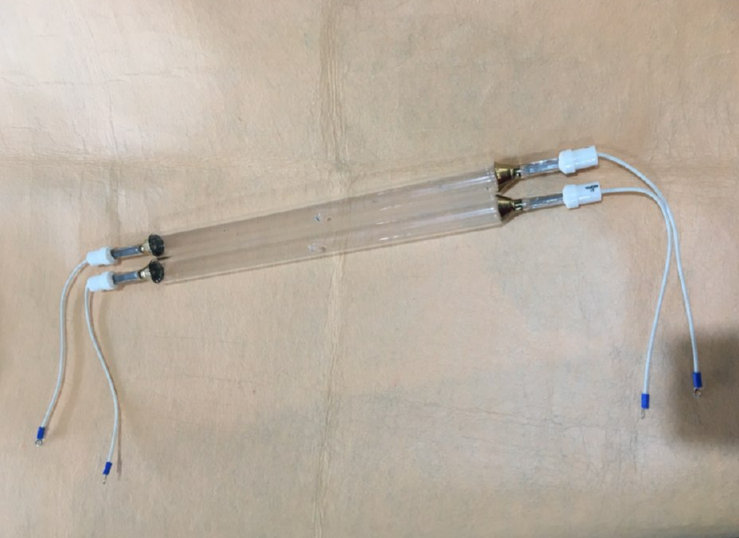
Here is the thing: the bulb is only half the story. We use high-purity quartz glass because standard glass is basically a wall—it blocks the very rays you’re paying for. You need that light to get through. And man, these things get hot. A high-wattage tube pumps out a ton of infrared heat along with the UV. That’s why your cooling is everything. Whether you’re using fans or water-cooling jackets, you can’t skimp here. If the cooling fails, your fabric warps or your colors shift before the ink even has a chance to set.
Keeping things running
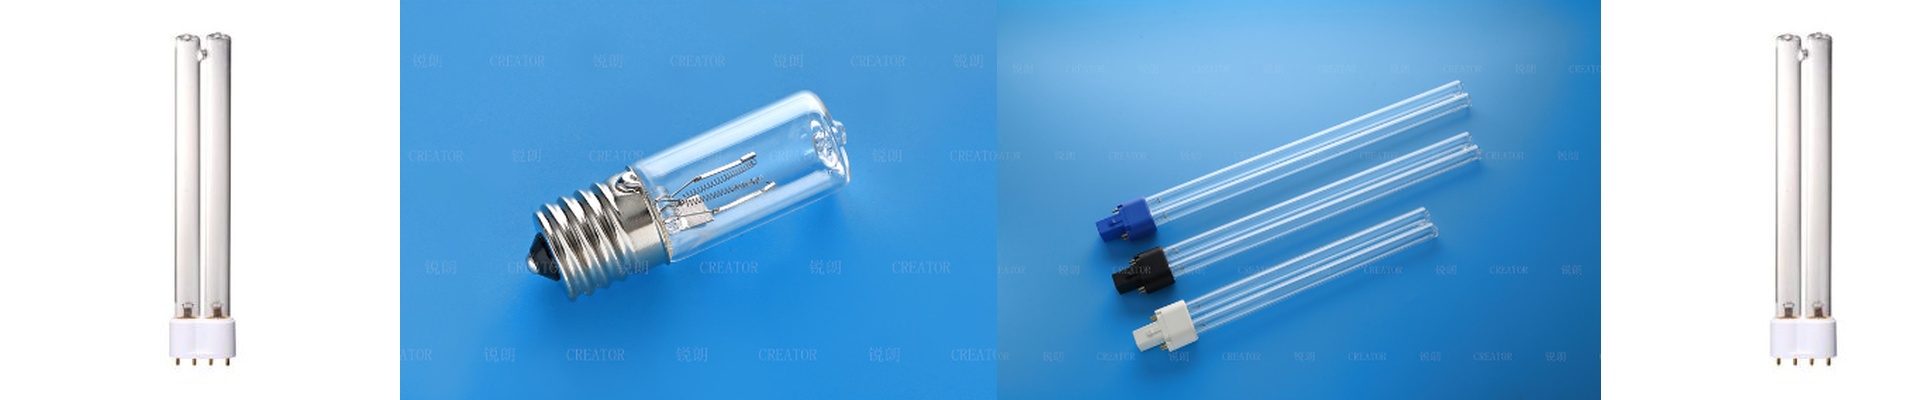
We design our setups for the real world. When a lamp finally gives out—or when the output starts to dip—you can’t afford to have your whole line down for hours. We use standardized connectors so you can just pop a new one in and keep moving. No rewiring mid-shift. Just keep in mind that UV lamps don’t always “pop” like a lightbulb in your kitchen. They fade. You’ll see a drop in intensity long before the lamp actually dies. My advice? Check your cure rates every week. It’s a five-minute habit that saves you from throwing away an entire batch of uncured prints.